Download these files on Thingiverse.
The seed of this project was my discovery of the fantastic portfolio of Geoffrey Marchal, who uses photogrammetry to scan sculptures, fossils, and other works of art and history into usable solid models. You can find his work on MyMiniFactory or SketchFab. I also read Neil Gaiman's Norse Mythology when it was released (highly recommended), so mythology was on the mind.
Besides his ferocious cave bear skull, it was the horse skull that drew me in. The scan resolution is great, but the bottom surface required some heavy clean-up. My background is in Solidworks parametric modeling, and I'm still working on Blender mastery. Most of this was done in Meshmixer and Materialise.


Next: adding a Unicorn skull, and printing this thing out. Don't worry, I referenced the right archaeology research and this is a completely accurate representation.
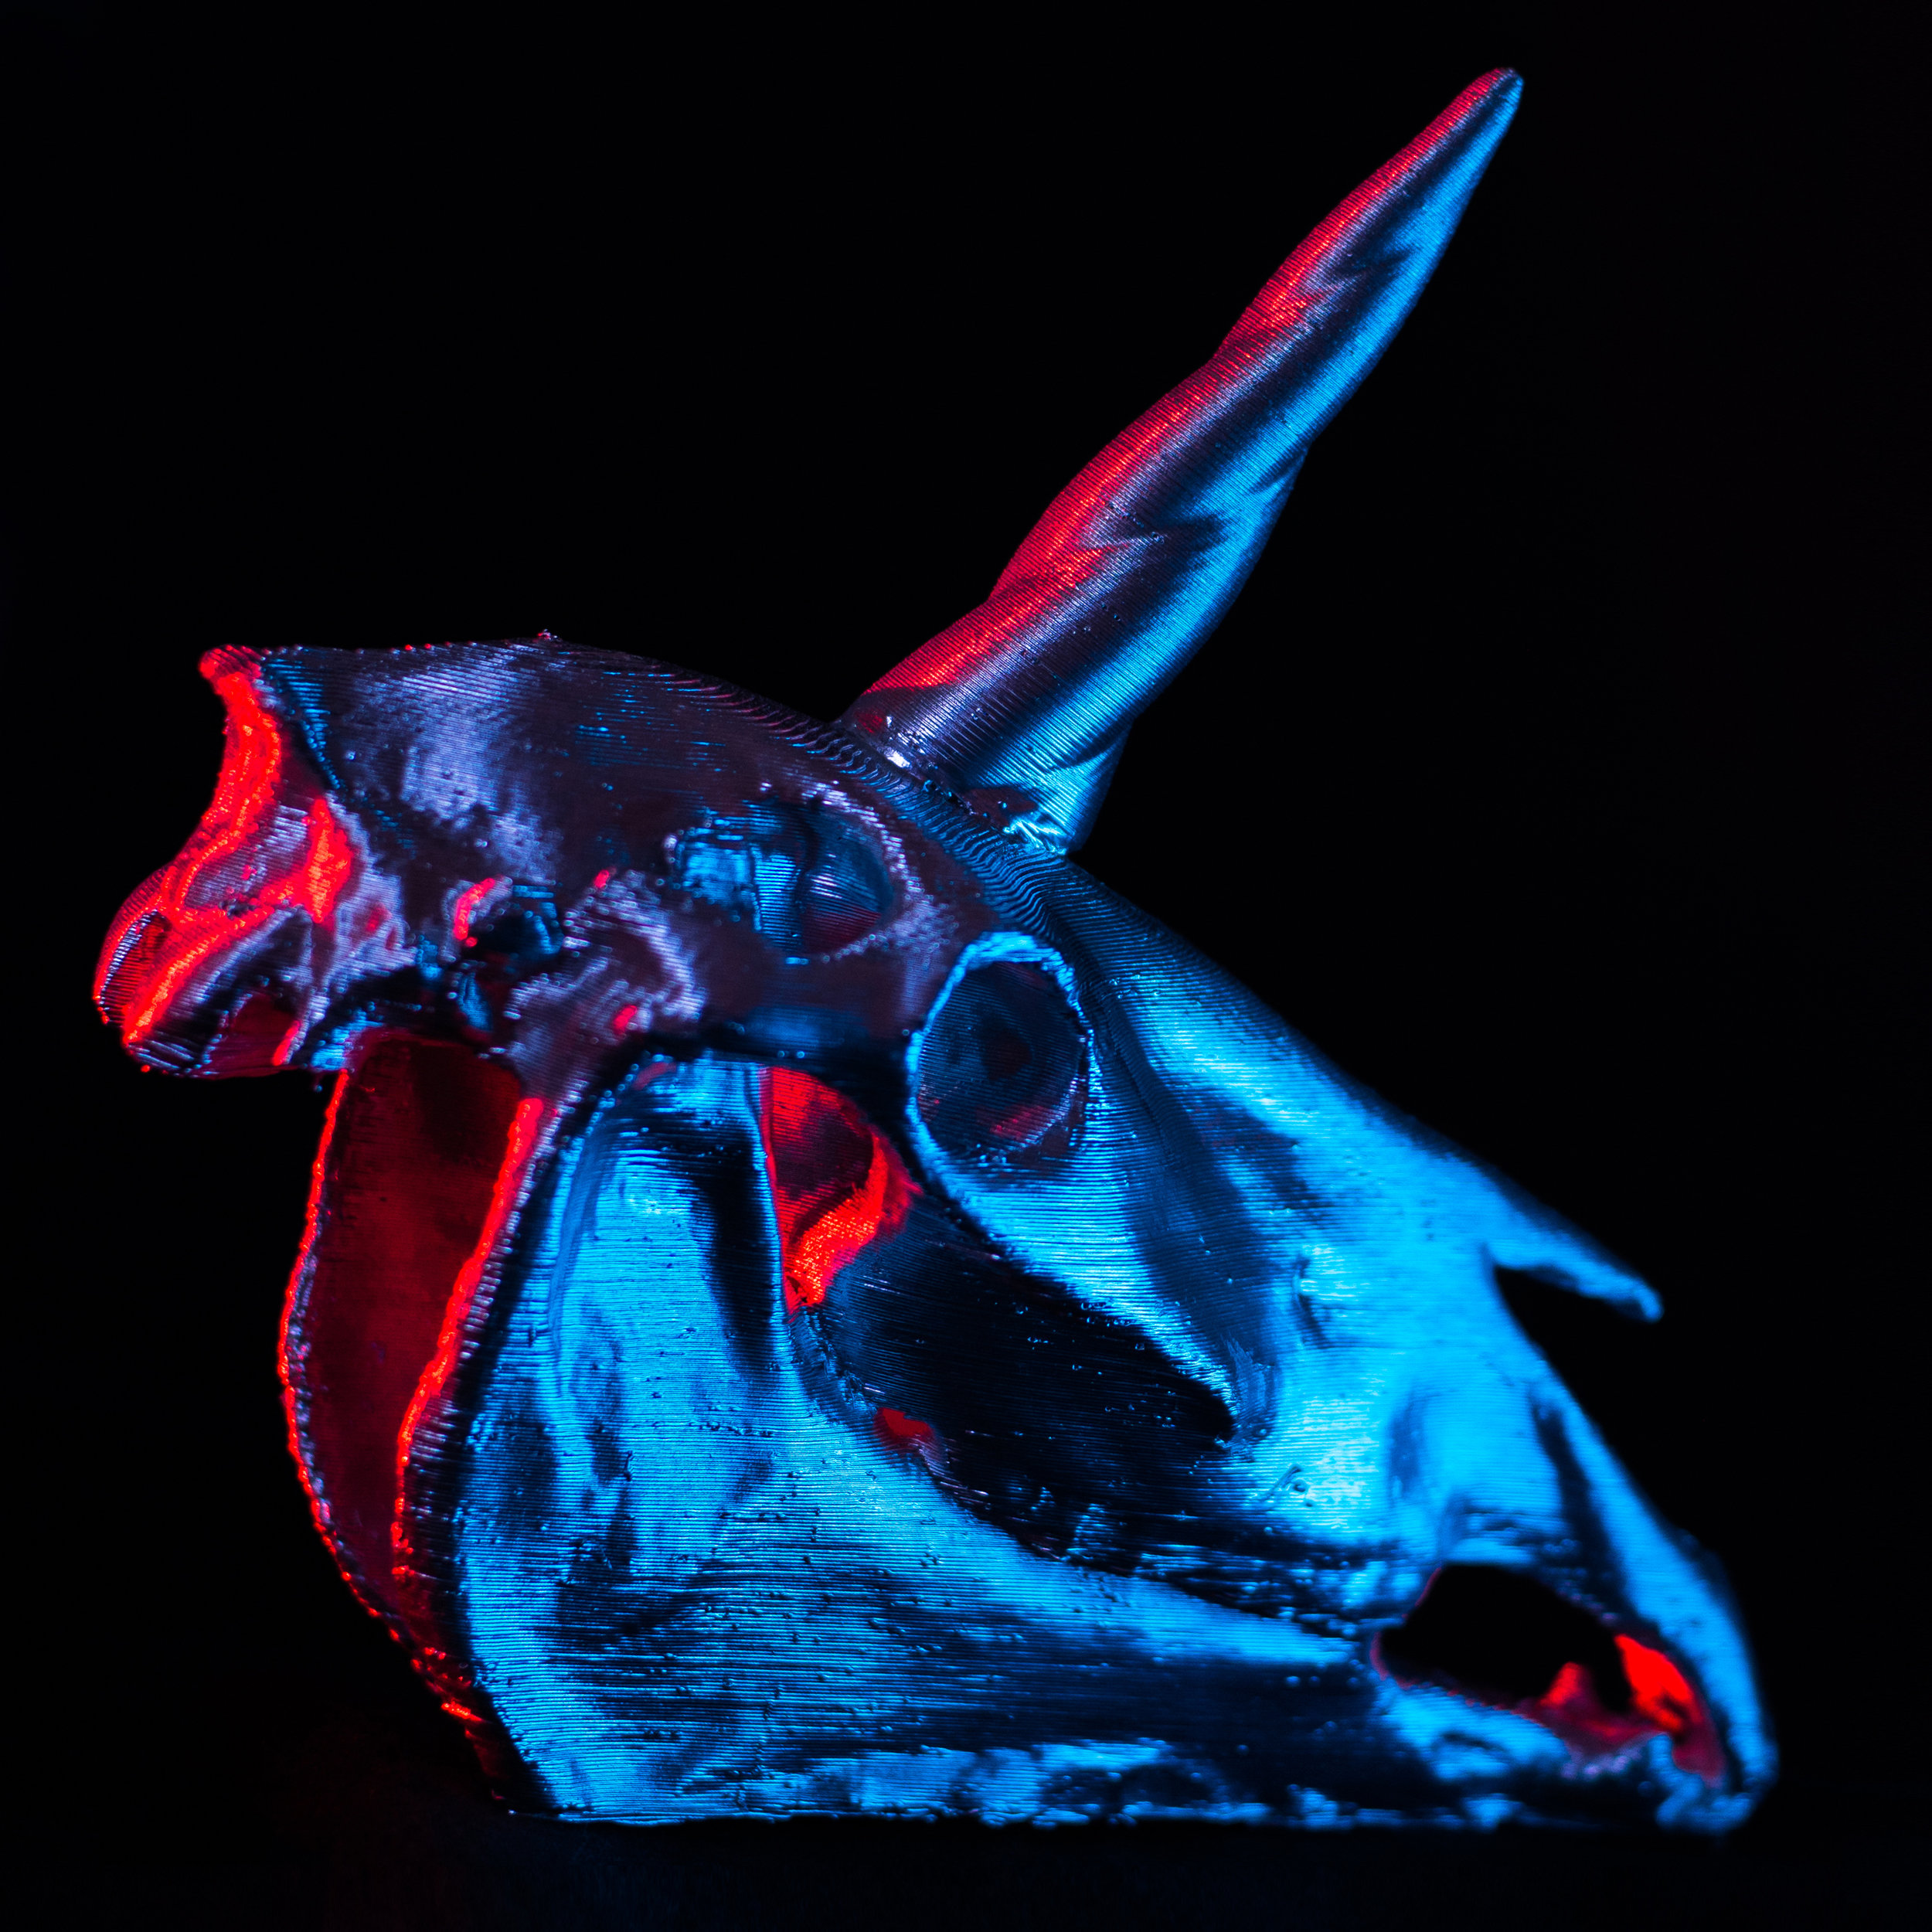
I initially printed the horn separately and attached afterwards to reduce the cost and time of printing. This is a standard ABS print on a Makerbot-style filament printer. and scaled to roughly 5 in. long. Build lines evidencing the two different build orientations are evident in the last photo.


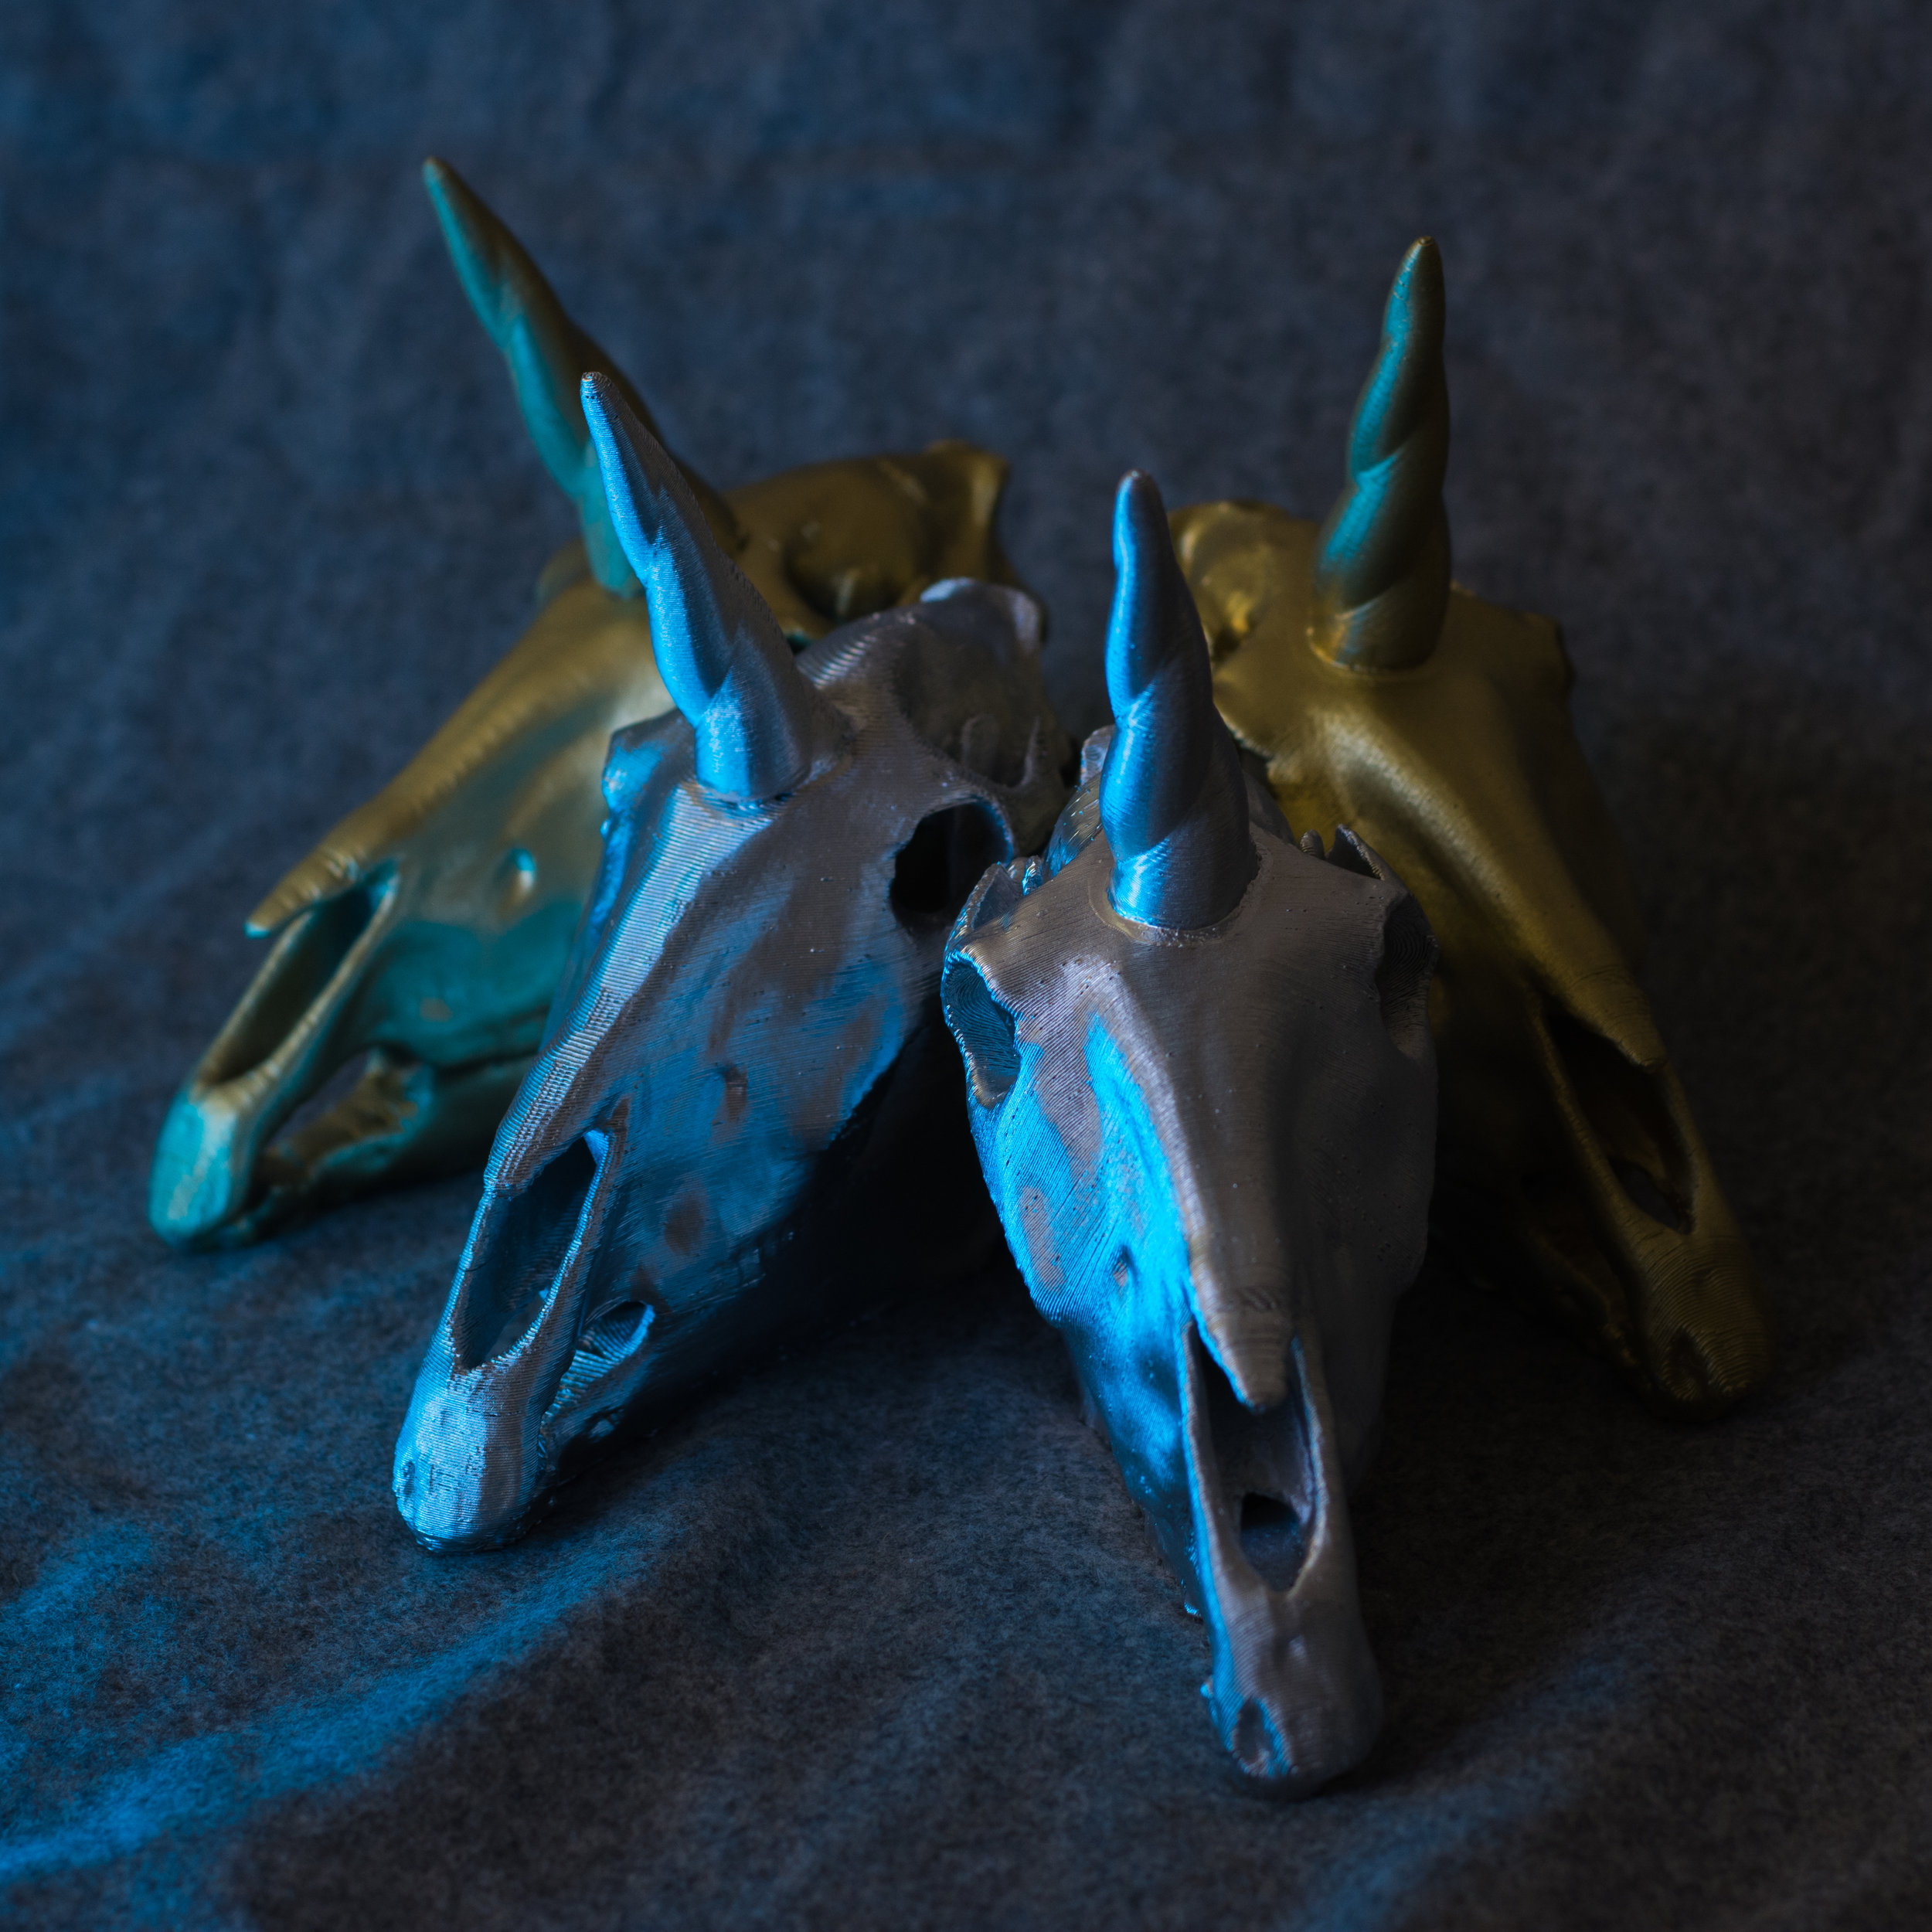
Ideally I would have smoothed these out using the acetone method, but I was a bit pressed for time. A quick shot of filler primer and some paint was all these got. Two chrome, two gold. Apply some creative #outrun style lighting, and you get these weird images.
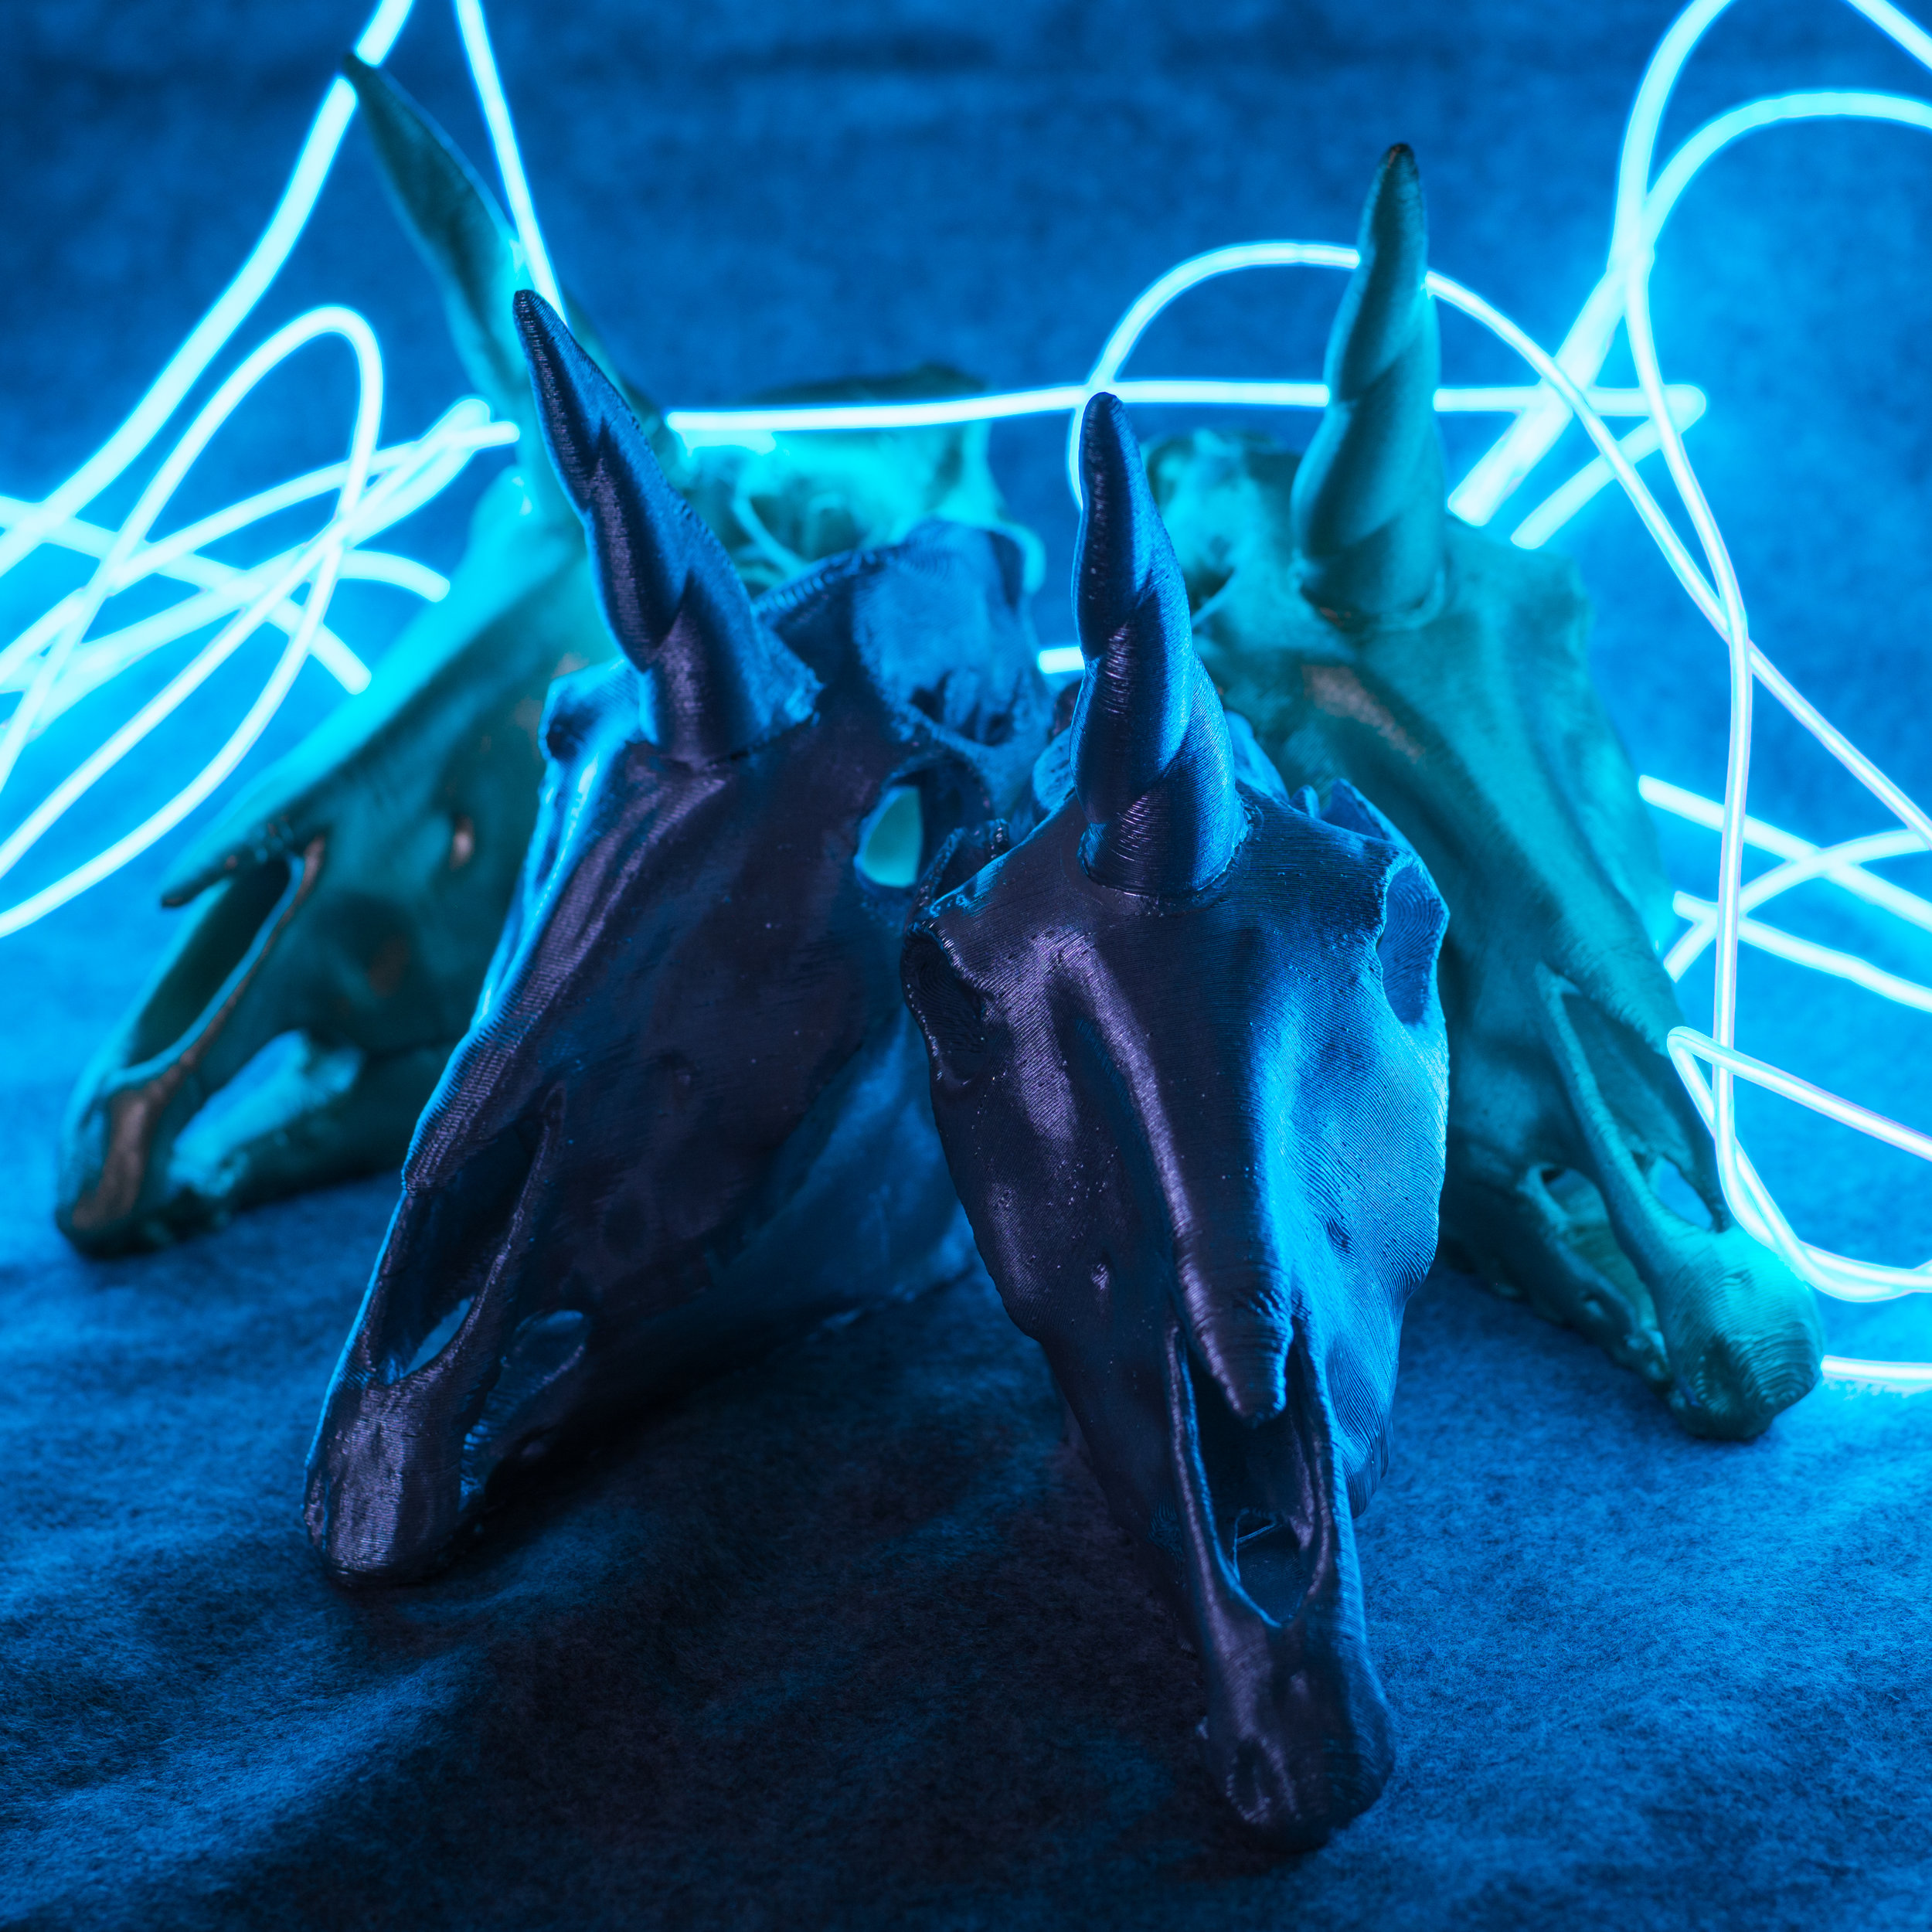
The plastic versions are great, but these were designed to be printed in metal.
Directly printing metal requires significantly more preparation than polymer. The extreme energy input required to melt metal powder creates enough thermal stress that parts can warp or fail completely. To combat this effect we have to connect the part to its build plate, and build support structures for each downward facing surface. Read more about that [in this article I have yet to write].


At this scale, designed correctly, these supports can be removed fairly easily with pliers and care. The support evidence is then cleaned up with a rotary tool and a suite of attachments. I left one in the as-built condition, one after a media-blast, and polished one one on a buffing wheel. Note the slight coloration effect on the surface of the as-built part.

From left to right: Polished, as-built, media blasted.